Smart lighting offers convenience, energy efficiency, and enhanced control over your home’s lighting system. Whether you’re looking to automate your lights with voice commands, remote control, or scheduling, installing smart lighting is easier than you might think. This step-by-step guide will walk you through the installation process for various types of smart lighting systems.
1. Choose the Right Smart Lighting System
Before installation, decide which type of smart lighting best fits your needs:
- Smart Bulbs (e.g., Philips Hue, LIFX) – Replace traditional bulbs, no wiring needed.
- Smart Light Switches (e.g., Lutron Caséta, TP-Link Kasa) – Replace existing switches for whole-room control.
- Smart Plugs (e.g., Wyze, Wemo) – Turn lamps into smart lights.
- Smart Strips & Panels (e.g., Nanoleaf, Govee) – Decorative lighting with smart features.
2. Gather Necessary Tools & Equipment
Most installations require:
✔ Smart bulbs, switches, or plugs
✔ Smartphone/tablet with the manufacturer’s app
✔ Wi-Fi network (or hub depending on the system)
✔ Screwdriver (for switches)
✔ Wire strippers (if hardwiring)
✔ Voltage tester (for safety)
3. Install Smart Bulbs (Easiest Option)
Step 1: Turn off the existing light switch/fixture.
Step 2: Screw in the smart bulb like a regular bulb.
Step 3: Turn the power back on.
Step 4: Download the manufacturer’s app (e.g., Philips Hue, LIFX).
Step 5: Follow in-app instructions to pair the bulb via Wi-Fi, Bluetooth, or a hub.
Step 6: Test voice control with Alexa, Google Assistant, or Siri (if supported).
4. Install Smart Light Switches (For Full Room Control)
Step 1: Turn off power at the circuit breaker. (Use a voltage tester to confirm.)
Step 2: Remove the existing switch cover and unscrew the old switch.
Step 3: Take note of wire connections (usually: live, load, neutral, and ground).
Step 4: Connect wires to the smart switch (follow manufacturer’s labeling).
Step 5: Secure the switch in the wall and attach the faceplate.
Step 6: Turn power back on and connect via the app to complete setup.
5. Install Smart Plugs for Lamps (Simple Plug-and-Play Option)
Step 1: Plug the smart plug into an outlet.
Step 2: Connect your lamp or light fixture to the plug.
Step 3: Pair via manufacturer’s app (usually through Wi-Fi or Bluetooth).
Step 4: Set schedules or voice control as desired.
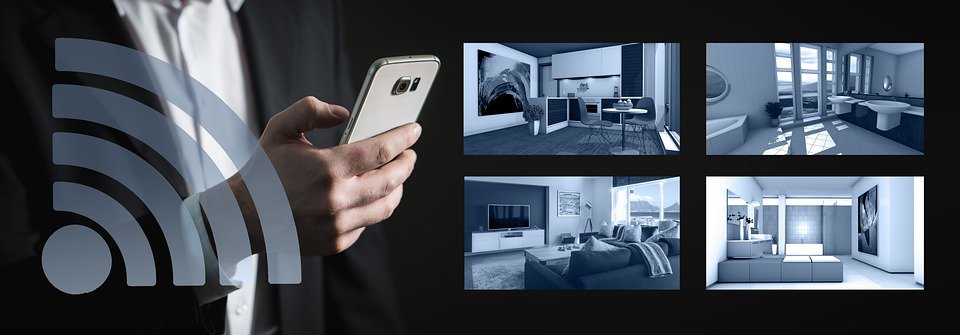
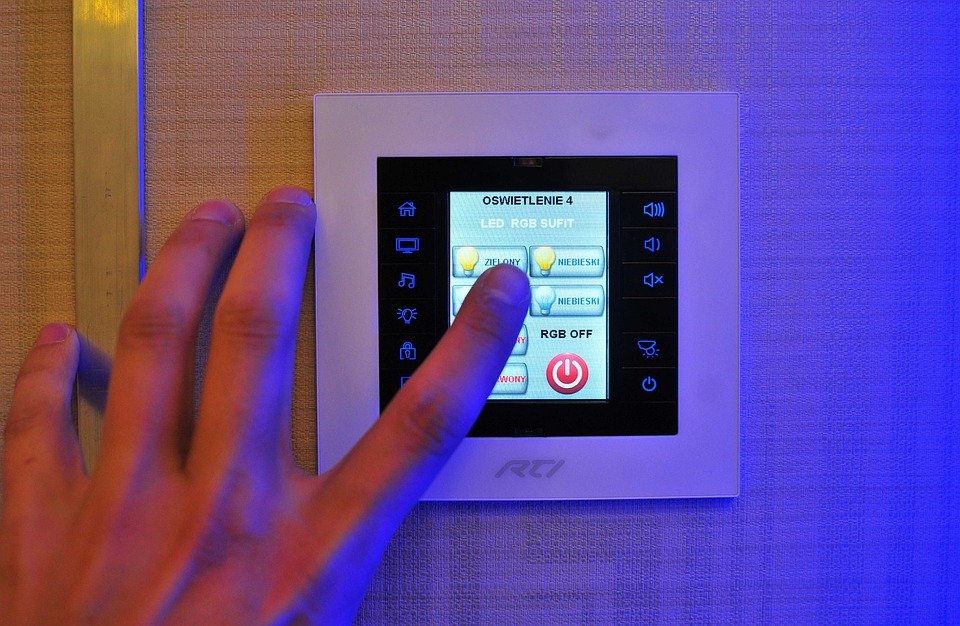
6. Connect to a Smart Home Ecosystem
For seamless control, integrate with:
- Amazon Alexa (“Alexa, turn on the lights”)
- Google Assistant (“Hey Google, dim the living room lights”)
- Apple HomeKit (“Siri, turn off the bedroom light”)
- SmartThings, Home Assistant, or Hubitat (for advanced automation)
7. Test & Troubleshoot
✔ Ensure bulbs/switches are properly connected.
✔ Verify Wi-Fi & hub connections.
✔ Check for firmware updates on the app.
✔ Re-pair devices if unresponsive.
Final Tips for Optimal Smart Lighting
- Use motion sensors or geofencing for automation.
- Group lights into zones (e.g., “Living Room Lights”).
- Experiment with colors/scenes for ambiance.
- Schedule lights to save energy (e.g., turn off at bedtime).
By following these steps, you can enjoy a seamlessly smart-lit home in no time! 🌟💡
Would you like specific recommendations for brands or automation tips? Let me know!